
How to Audit Your WordPress Plugins Before They Break Your Site
Most WordPress problems start in the plugin list. Here is the step-by-step audit I run to find abandoned, duplicate and slow plugins, and remove them safely.
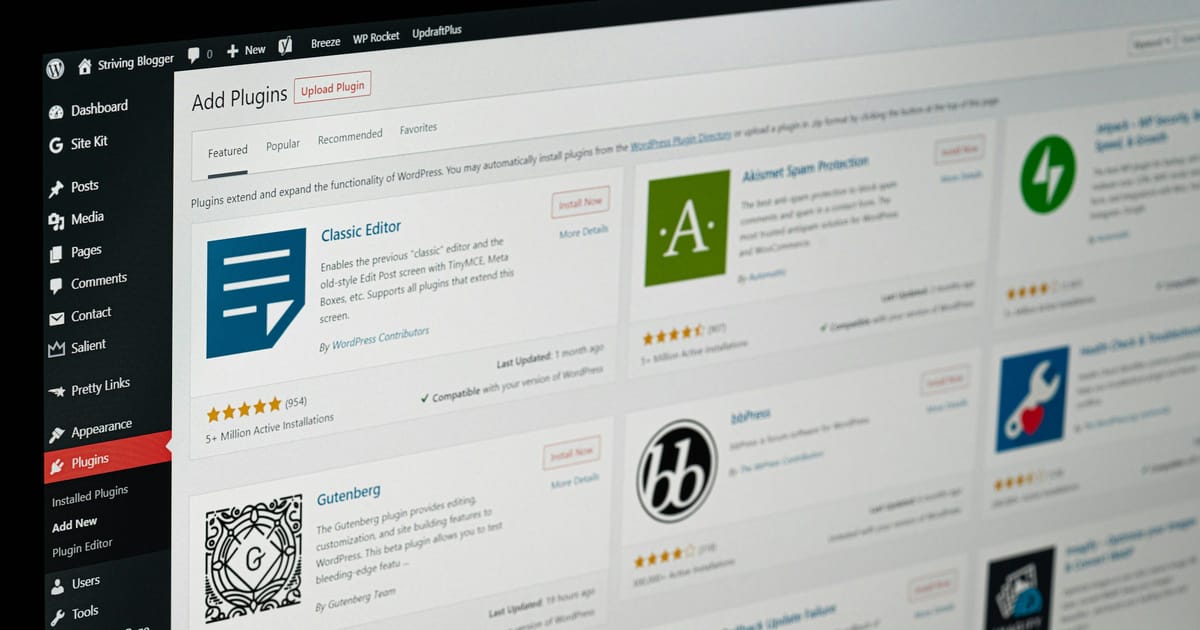
Nobody installs forty plugins on purpose. It happens one problem at a time: a form here, a slider there, a plugin someone added for a campaign years ago and forgot. Each one made sense on the day. Together they are usually the reason a WordPress site is slow, fragile and a little frightening to update. When a client asks me why their site broke after a routine update, the answer is almost always in the plugin list. Here is the audit I run, step by step, so you can do it yourself or at least know what to ask for.
Step 0: back up and work on staging
Do not audit a live site by switching things off to see what happens. Take a full backup, files and database, and confirm you can actually restore it. Then clone the site to a staging copy. Most decent hosts offer one-click staging; if yours does not, that is worth knowing too, and it is part of what I cover in how to choose website hosting. Every removal in this guide happens on staging first.
Step 1: build an inventory
Start with a spreadsheet, not the plugins screen. For every plugin, active or not, record:
- Name and version
- Active or inactive
- What it does, in one plain-English sentence
- Which pages or features depend on it
- Last updated date, and whether it is tested with your WordPress version
- Free, paid, or paid with an expired licence
- Where it came from
If you have command-line access, WP-CLI gets you most of the way in one go:
wp plugin list --fields=name,status,version,updateThe "what it does" column is the one that matters. If nobody on the team can write that sentence, the plugin is already a candidate for removal.

Step 2: flag abandoned and risky plugins
Look at each plugin's page in the WordPress plugin directory. Warning signs:
- No update in over a year.
- A notice that it has not been tested with the last few major WordPress releases.
- The plugin has been closed and is no longer available for download. Closures happen for several reasons, including unpatched security issues, and a closed plugin gets no further fixes.
- Support forum threads full of unanswered bug reports.
- Premium plugins with an expired licence, which usually means no updates, security updates included.
Then check every plugin against a vulnerability database such as WPScan or Patchstack. Security plugins and some hosts do this automatically. A known, unpatched vulnerability moves a plugin straight to the top of the removal list.
One non-negotiable: any "nulled" plugin, meaning a paid plugin downloaded free from an unofficial site, comes out immediately. They are a common route for malware onto WordPress sites. I go deeper on the wider picture in WordPress security and the website security checklist for 2026.
Step 3: find the overlaps
Group plugins by job. Overlaps I find on almost every audit:
- Two SEO plugins, both writing meta tags and sitemaps.
- A caching plugin, a host-level cache and an optimisation plugin all minifying the same files.
- Three form plugins because each campaign used a different one.
- A security plugin and a firewall plugin both scanning on the same schedule.
- Several "toolkit" plugins, each adding one small feature you actually use.
Pick one winner per job. Duplicates are not just wasteful: two plugins doing the same thing can conflict in ways that only show up on certain pages, for certain users, at the worst possible moment.
Step 4: measure the performance cost
Install Query Monitor on staging. It shows database queries grouped by the plugin that ran them, slow queries, HTTP calls to external services, and which scripts and styles each page loads. Browse the key pages, such as the homepage, a product or service page, and the checkout or contact form, and note which plugins show up with heavy queries or slow external calls.
Then look at the front end. Many plugins load their CSS and JavaScript on every page, even if they are only used on one. A slider used on the homepage should not load on your blog posts. That front-end weight is what visitors actually feel, and it is one of the main reasons WordPress sites are slow.

Step 5: replace plugins with core features or a few lines of code
WordPress core does far more than it did when many of these plugins were installed. Things I regularly remove in favour of core or a small amount of code:
- Lazy-loading plugins. WordPress adds native
loading="lazy"to images by default. - Custom CSS plugins. Real styling belongs in the theme, and the editor already handles small tweaks.
- Header and footer script injectors. A tracking snippet belongs in the theme or a tag manager, added once.
- Tiny tweak plugins that disable emojis, change the login logo or add one shortcode. A few lines in a site-specific plugin do the same job with no settings page and no update risk.
- Reusable content plugins. Synced patterns cover most of this now, as I explain in the post on block themes and Full Site Editing.
Keep that code in a small site-specific plugin under version control rather than the theme's functions.php, so it survives a theme change.
Step 6: remove safely
- On staging, deactivate one plugin at a time.
- Test the pages and features your inventory says depended on it: forms, checkout, logins, anything that sends email.
- Check content for leftover shortcodes showing up as raw text.
- Delete the plugin rather than leaving it deactivated. Inactive plugins still sit on the server, and a vulnerable file that can be reached directly can still be exploited.
- Repeat on live once staging has been clean for a few days, with a fresh backup taken first.
Some plugins leave database tables and options behind. Clean those up only once you are sure the plugin is gone for good.
Step 7: the keep, replace, remove table
Summarise the audit in one table the business can read and sign off. A typical one looks like this:
| Plugin | Job | Verdict | Reason |
|---|---|---|---|
| SEO plugin A | Meta tags, sitemaps | Keep | Maintained, used daily |
| SEO plugin B | Meta tags | Remove | Duplicates plugin A |
| Old slider | Homepage carousel | Replace | Loads on every page; a static hero does the job |
| Form plugin | Contact and quote forms | Keep | Actively maintained; becomes the only form tool |
| Emoji disabler | One small tweak | Replace | A few lines in the site plugin |
| Gallery plugin | Portfolio grid | Replace | Not updated in years; the core Gallery block covers it |
| Caching plugin | Page caching | Remove | Host already caches at server level |
That last row catches a lot of sites. If you are unsure how host caching, plugin caching and a CDN fit together, CDNs and caching explained untangles it.
Step 8: put it on a schedule
An audit is a snapshot. Plugins creep back in unless someone owns the list. What I recommend:
- Monthly: apply updates on staging first, and check for plugins flagged as vulnerable.
- Quarterly: re-check last-updated dates and remove anything no longer used.
- Yearly: run the full audit again, including the performance step.
- Always: one person approves new plugins, and each one gets a row in the inventory before it is installed.
This slots straight into a normal website maintenance routine. A site with fifteen well-chosen plugins is faster, easier to secure and cheaper to look after than one with fifty.
Not sure which of your plugins are safe to remove? Send me your plugin list and I will tell you which ones I would keep, replace and remove first.